

One of the most Common Questions and fears that we get regarding the use of our Preformed Curved Drywall Panels is how to cut the corner to get them to miter cleanly? Fair question considering that mathematically this is not just a simple 45 deg. slice on your miter saw. Some of our panels are way to large for a Miter Saw anyway. So you can dust off your Trigonometry and Geometry and derive the non linear cut path to scribe on your panel or use this simple technique to cut your Preformed Curved Drywall Panels to make your corner fit.
A Few Suggestions to help make this go smoother in the real world
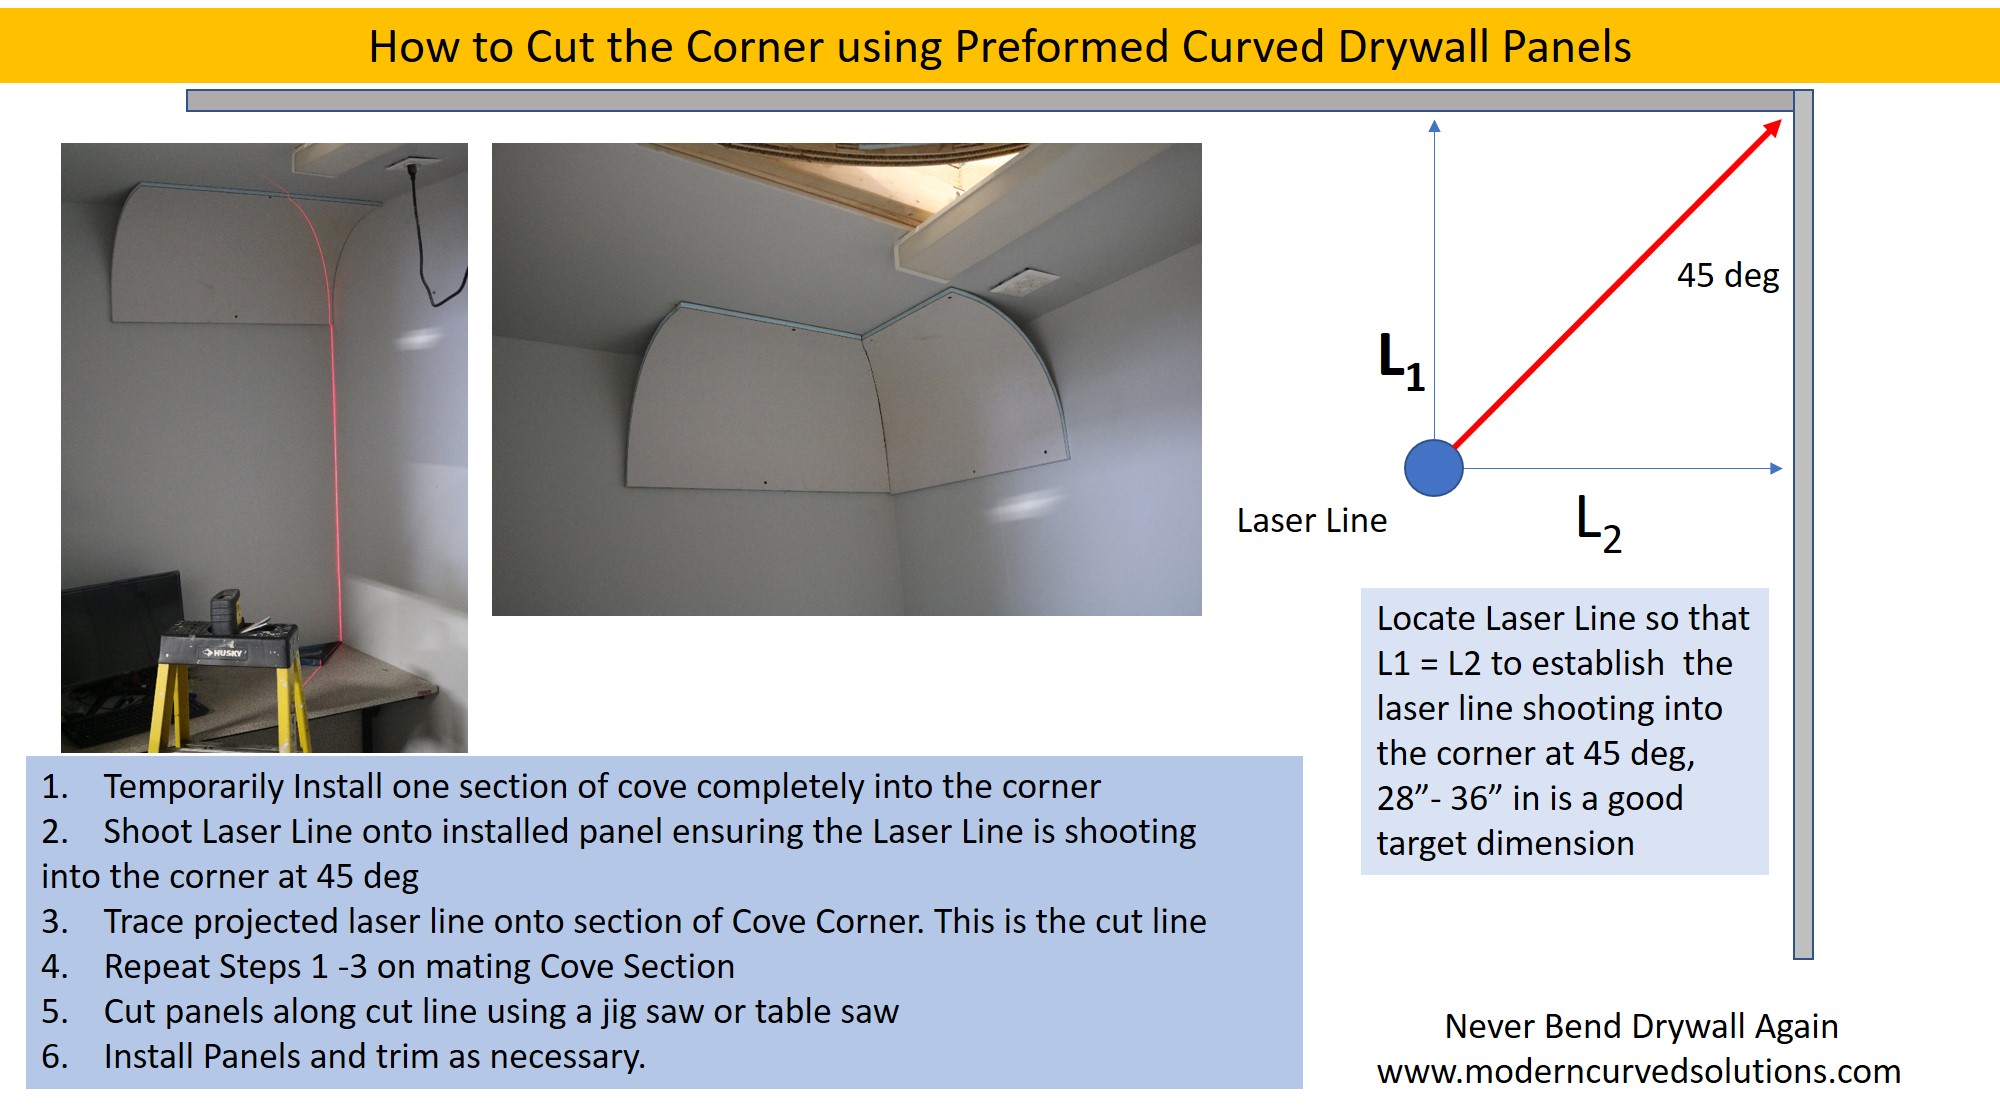
1. Make Sure the laser line matches the corner all the way up the wall. In the real word, nothing is level or straight. You may need to shim the laser a bit to get the "vertical" line to match the "vertical" corner in the wall.
2. Make sure the Laser Line is shooting into the corner on a 45 deg. line. Locate the laser away from the wall a convenient distance that gives you good visibility of the line on the panels. In our experience 28" - 36" is a good starting point for most rooms. Taller ceilings may require moving the laser back a bit.
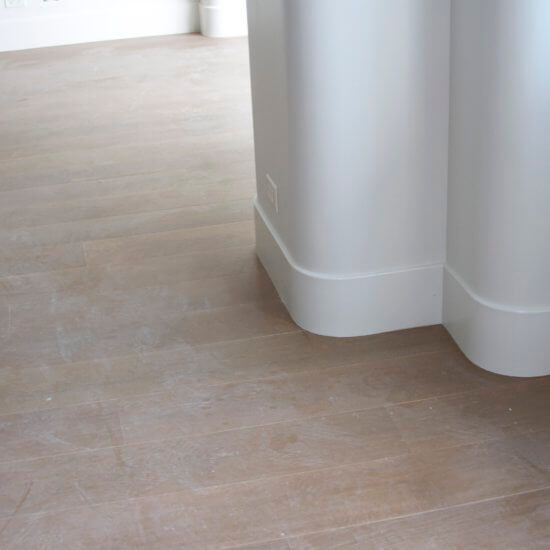
3. Pics below show the panels installed on top of existing drywall. This is not usually the situation. Normally the panels will be mounted directly on the framing. We just don't have an unfinished wall in our shop to demonstrate with.
4. Small gaps after the first cut are common. Some trimming can help tighten up the gap.
5. Fill any resulting gap with a foam compatible adhesive, then tape and mud the corner.
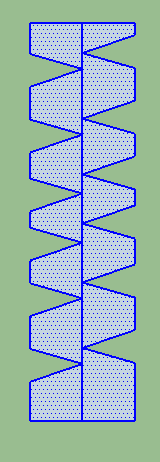
6. Cut your drywall tape like the pic below to minimize bunching as you lay it into the curved corner.
7. These techniques are shown assuming a perfect 90 deg corner. In reality they will work on other angled wall intersections too. Just position the laser line so it is shooting into the wall at half the existing wall angle. If your wall meets at an angle of 120 deg, the shoot the line in at 60 deg.